Over the years my felt pictures have slowly developed and I have been adding more and more stitching to them. I wondered what would happen if I completely cvered one with stitching and this is what happened.
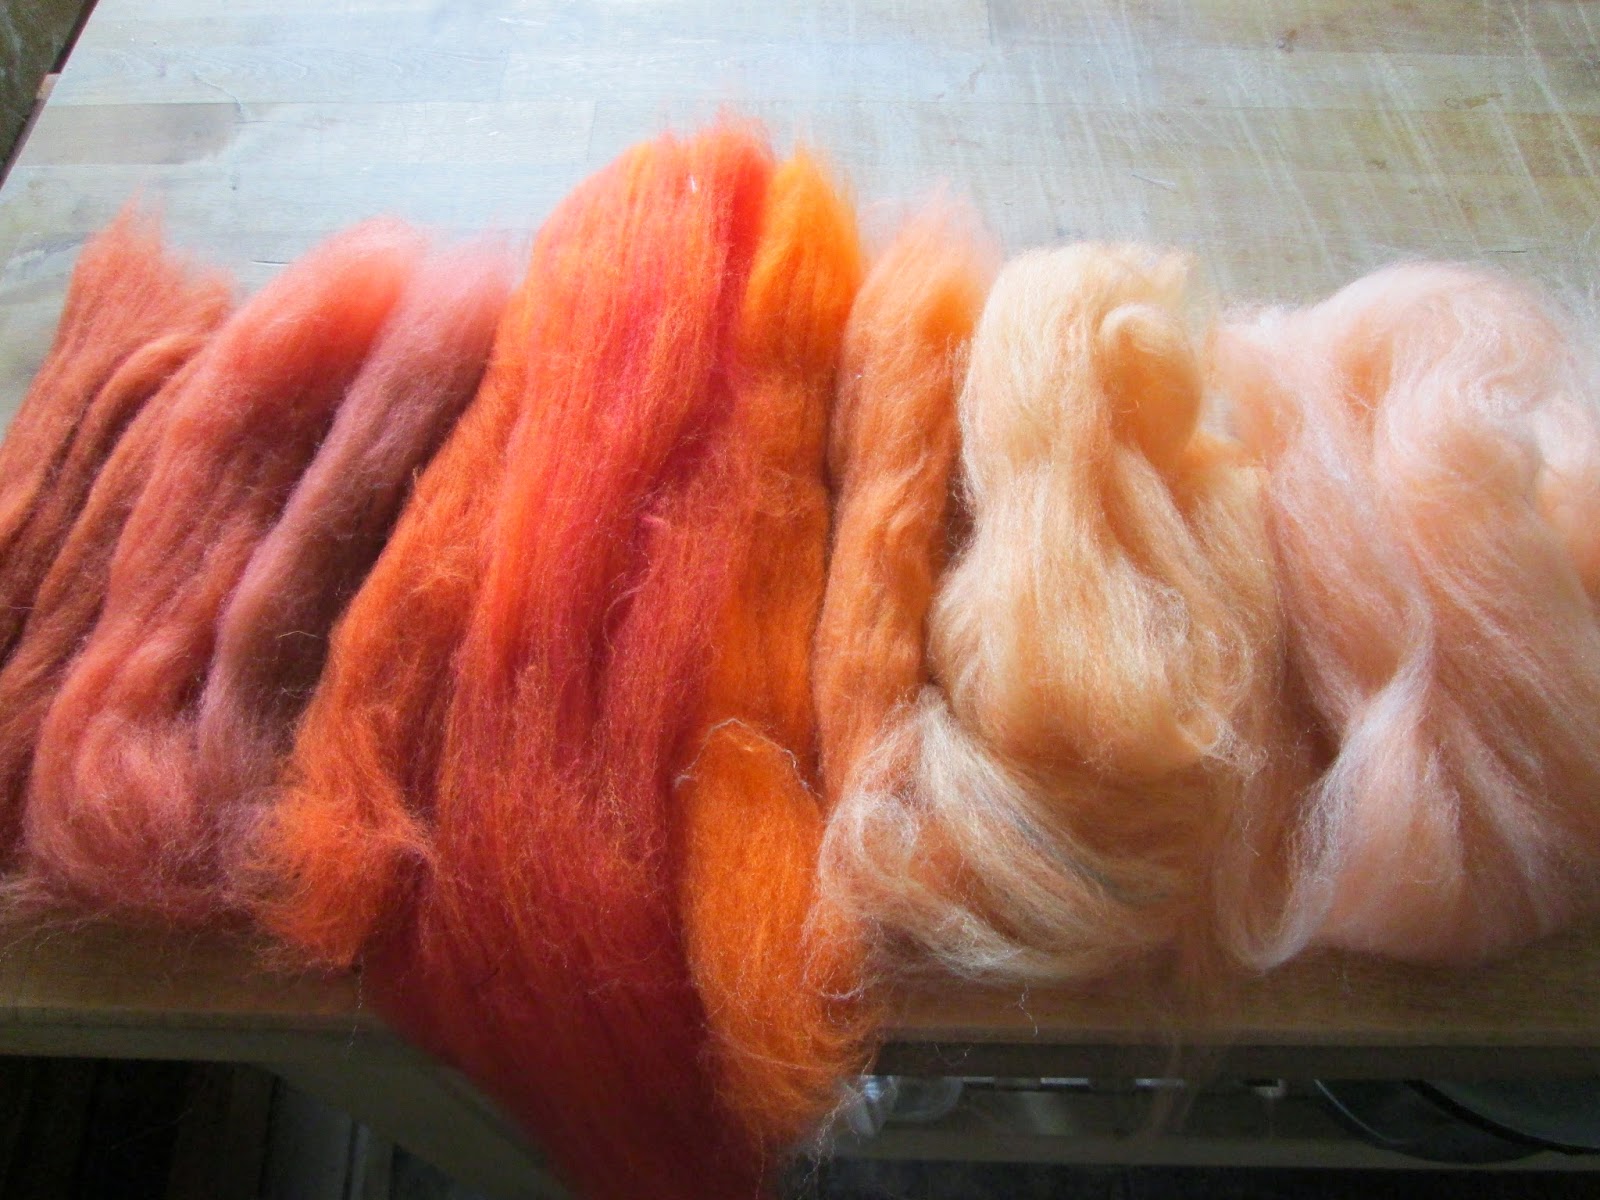
First I made a very simple felt picture. I wanted to be able to concentrate on the stitching and not a complicated design. This is the felt
 Next I covered the felt with a layer of zig zag stitch in colours to match the felt.
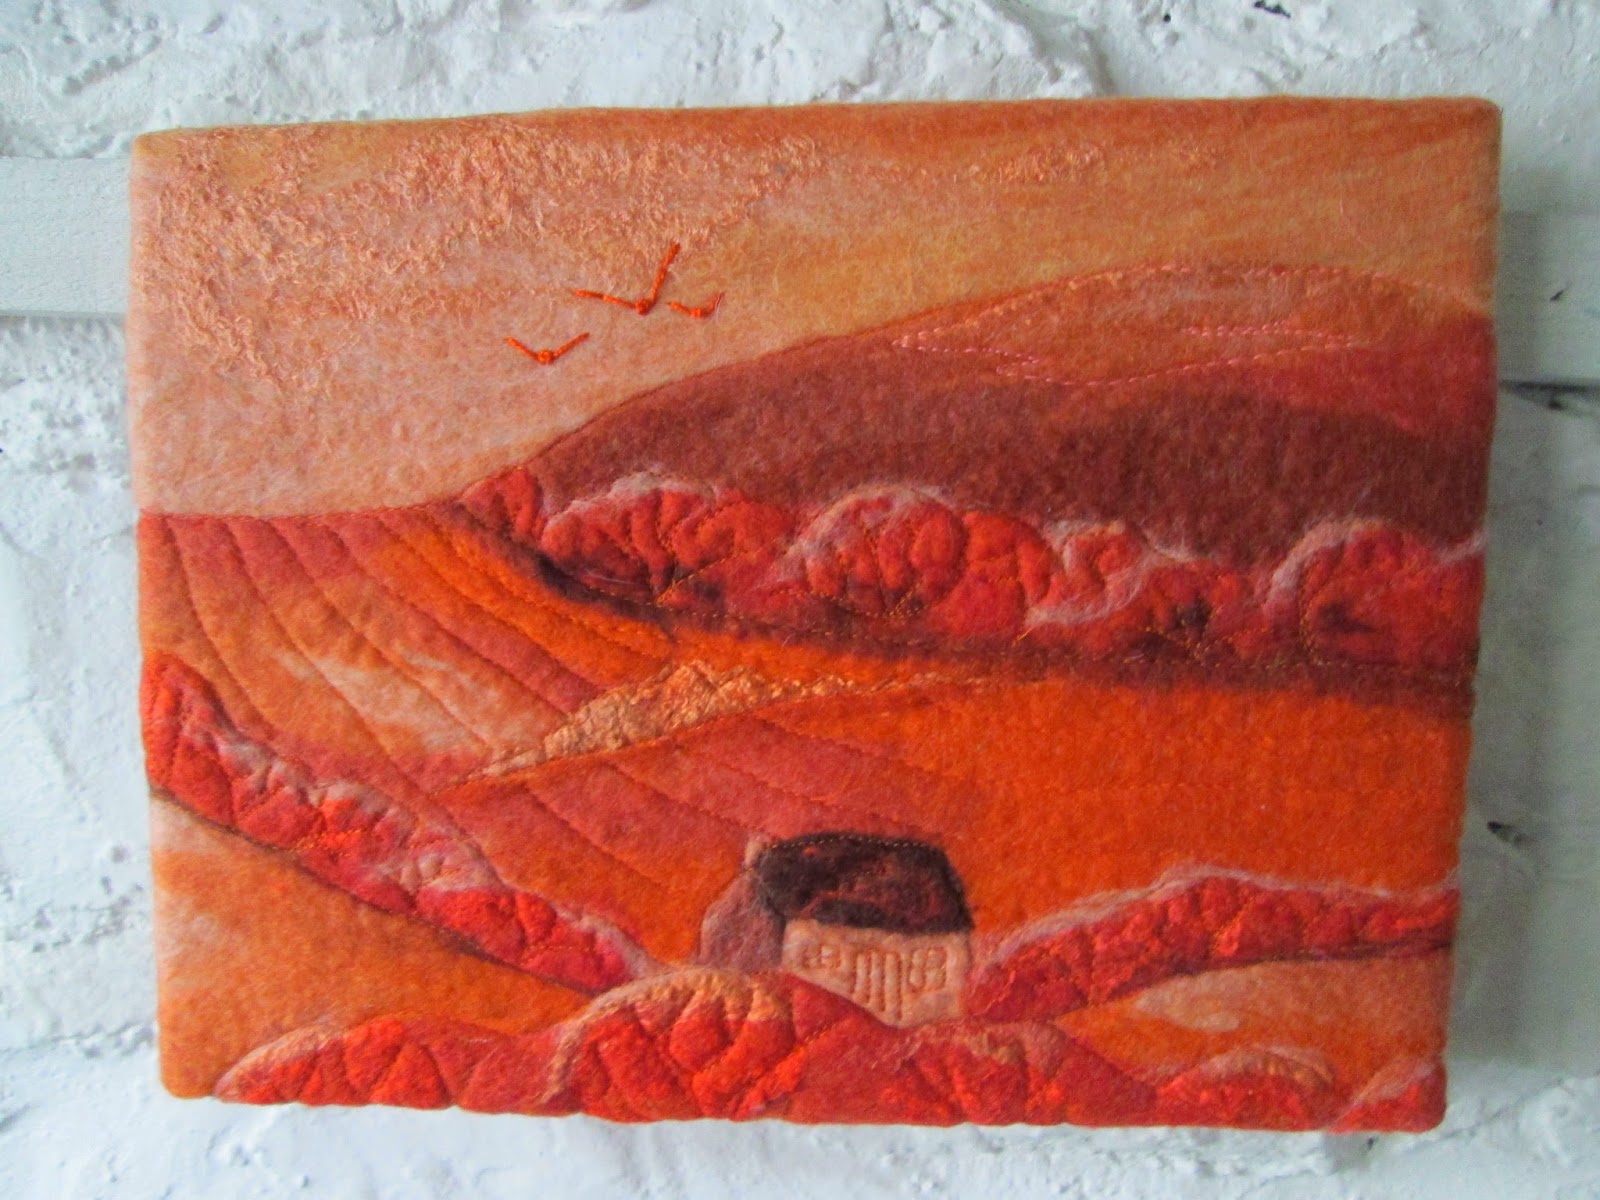
 I continued by adding layers of straight stitch . I overlapped some of the colours to blend everything together. When there were just tiny bits of felt visible I stopped stitching. The end result was a more crisp and defined image and I preferred it to the original.
 As you can see as well as changing shape the stitching had cause rippling at the edges. After careful pressing on the back I got rid of the ripples but how should it be finished and presented? I scoured my reference books and the internet which all gave different advise. I looked at images of stitched pictures and saw that some had been edged with yarn. After rummaging through my stash I found some novelty yarn in black, grey and white which I thought would bring out the colours in the rock. It was very thin so I made a cord with it which thickens the yarn x 4. I trimmed the edges of the felt and stitched the cord on to it. It worked.

First I made a very simple felt picture. I wanted to be able to concentrate on the stitching and not a complicated design. This is the felt
Next I covered the felt with a layer of zig zag stitch in colours to match the felt.I continued by adding layers of straight stitch . I overlapped some of the colours to blend everything together. When there were just tiny bits of felt visible I stopped stitching. The end result was a more crisp and defined image and I preferred it to the original.
The drawbacks are it uses a LOT of thread, takes a lot of time and the stitching distorts the felt fabric. This picture started out in a landscape format and ended up as portrait.
As you can see as well as changing shape the stitching had cause rippling at the edges. After careful pressing on the back I got rid of the ripples but how should it be finished and presented? I scoured my reference books and the internet which all gave different advise. I looked at images of stitched pictures and saw that some had been edged with yarn. After rummaging through my stash I found some novelty yarn in black, grey and white which I thought would bring out the colours in the rock. It was very thin so I made a cord with it which thickens the yarn x 4. I trimmed the edges of the felt and stitched the cord on to it. It worked.
I was going to put this in my textile sample book but my husband liked it so much he wanted it displayed so I mounted on to black card and put it in a box frame. I like the way it seems to 'float', It now lives in our lounge.
I will be exploring this further and hope to have some in my etsy shop soon.